How to Purchase theme?
Go to our theme page and click on the theme that you want to purchase. Once you are on the theme page, click on the “Buy Now” button which will redirect you to the checkout page. Then you can either log in to your account or if you don’t have an account, we recommend you create a user account. However, you can also checkout using as a guest.
Now, you need to select the payment method. We accept all Visa, Master, American Express, Discovery, Amazon pay, Paypal, and Stripe. After that add your billing details and click on the “Purchase” button.
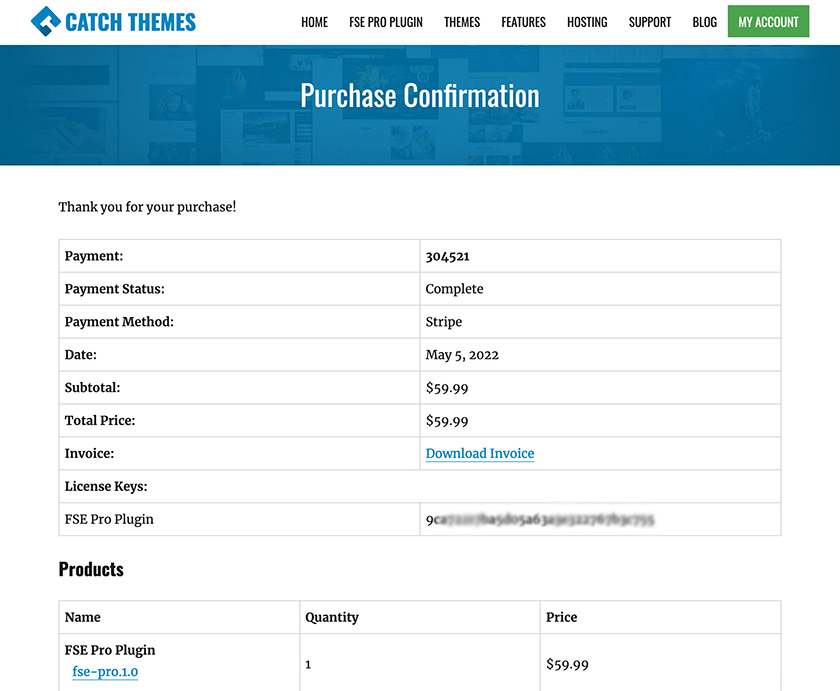
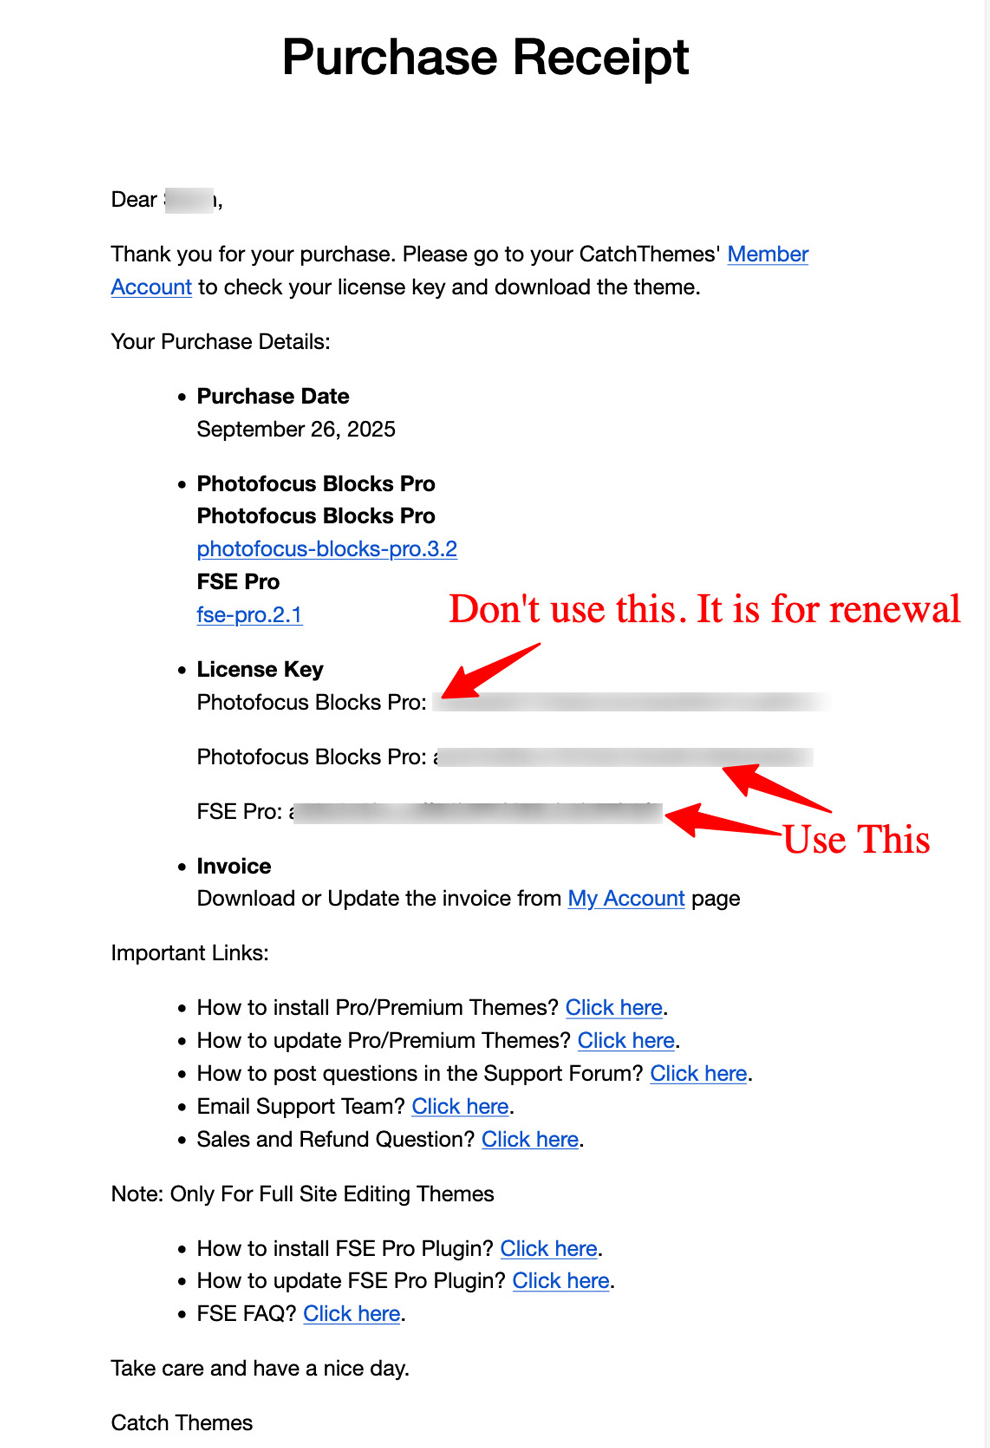
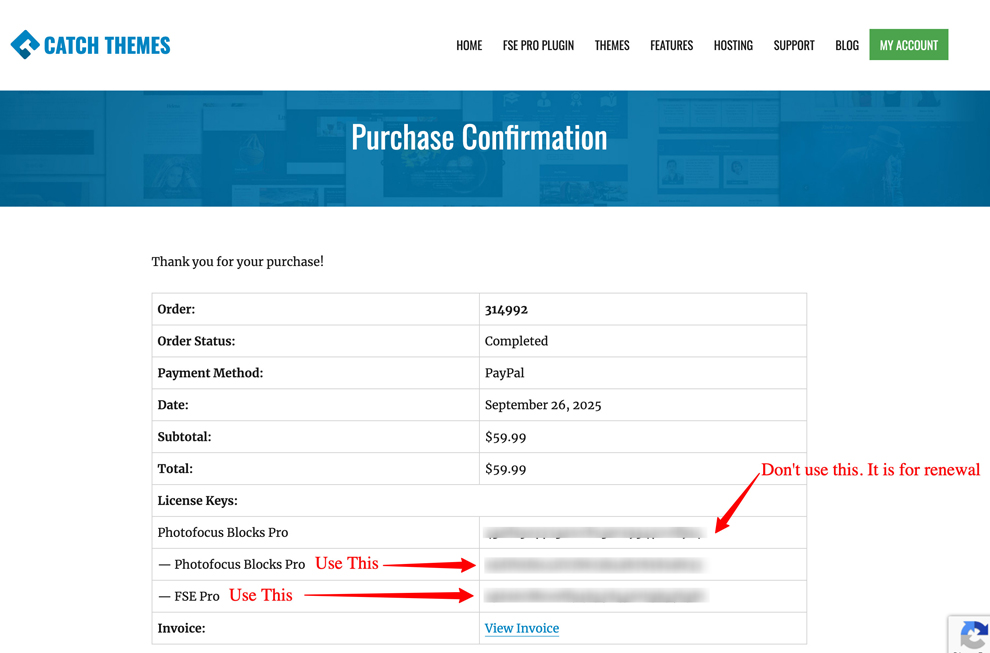
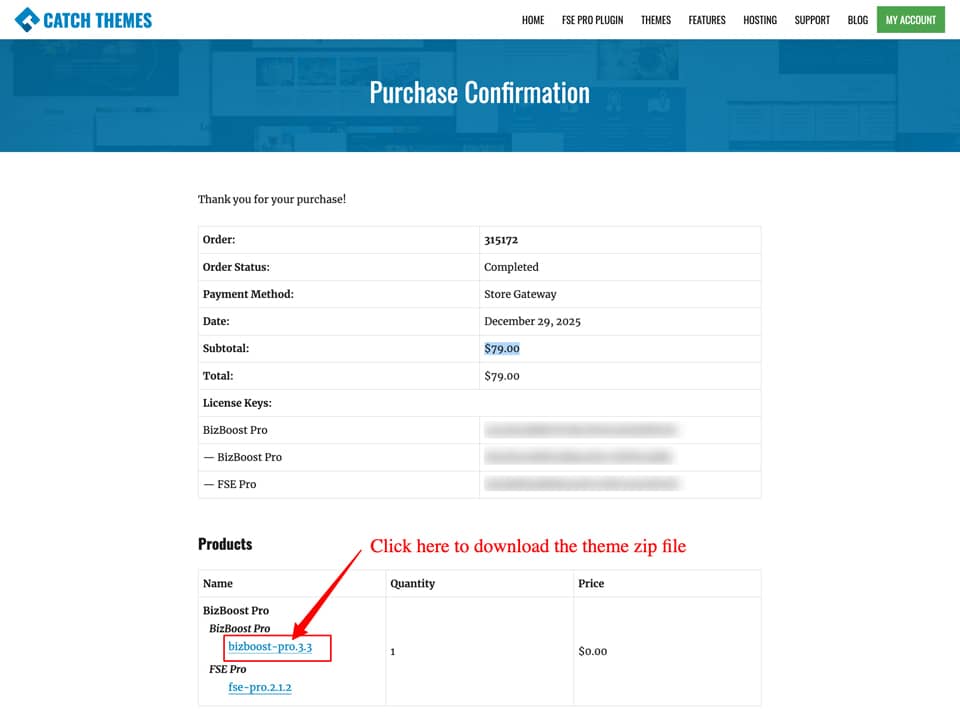
After your payment has been completed, you will see a payment completion message on thank you page and you will be automatically redirected to My Account page, where you can see your downloads, license key, and invoice.
Verify User Account after ‘Guest Checkout’
Catch Themes provides you the freedom to ‘Guest Checkout’ while purchasing the themes; i.e. no email verification needed. However, if you try to create your user account after checking out as a guest, it might take up to 24 hours to verify your account. This is due to Auto Verification by our Security System. Therefore, please recheck your account only after 24 hours and if you’re facing issues or need urgent email verification, feel absolutely free to contact our Sales Team at https://catchthemes.com/contact-us/
How to Create a new User Account?
- Go to https://catchthemes.com/my-account/
- To create a new account, fill in the fields on the right side section “Register New Account”
- Enter your Username, Email, Password, and Confirm Password
- Click “Register”
- Wait for a confirmation email.
How to Activate and Verify User Account?
- Check your registered Email Inbox
- Click the confirmation link in your email
- Account Activation and Verification Successful
- Note: Please check your spam/junk folder for email. Also, if you don’t get email confirmation then please contact us at https://catchthemes.com/contact-us/
What’s the Refund Policy?
At Catch Themes, we want to ensure that you are 100% satisfied with your purchase. If you have any technical/sales queries, feel free to contact us. However, if you feel the product(s) you purchased is not the best fit for your requirements, and you tried resolving the issues with our staff, we offer a 30-day return policy. You are subjected to a full refund within 30 days of your purchase. For a refund, please contact us using the contact form, Click Here
Note: If you have filled the dispute in Paypal or Stripe then you need to close the case in order to process the refund.
How do I download invoice or update invoice information?
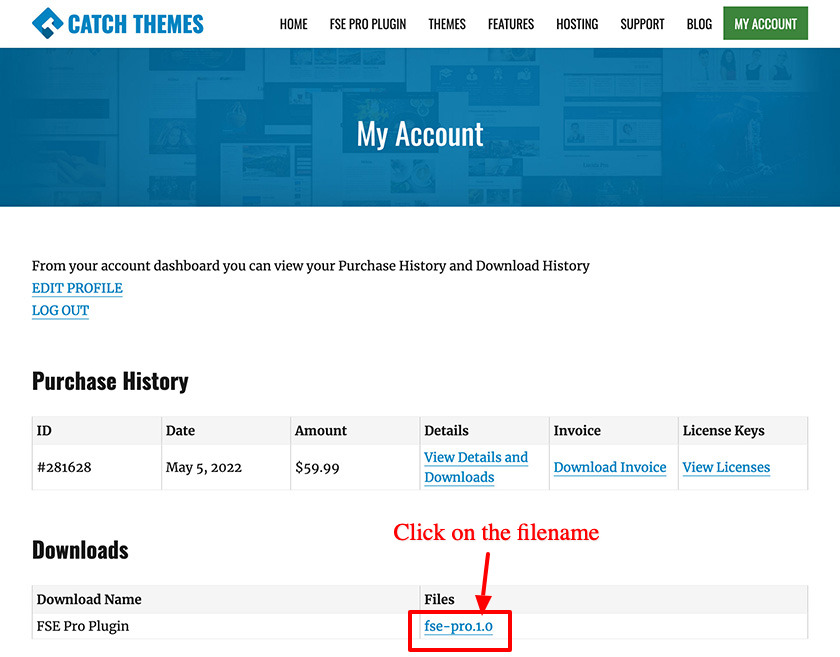
To download an invoice, log in to My Account page and click on “View Invoice”. Now, you will see your invoice and then can click on “Download PDF” to download your invoice. But if you want to update invoice information then click on the “Update” button, which will redirect to the invoice information form where you can update your information and click on the “Save Billing Details & Generate Invoice” button.
How to renew or extend license key?
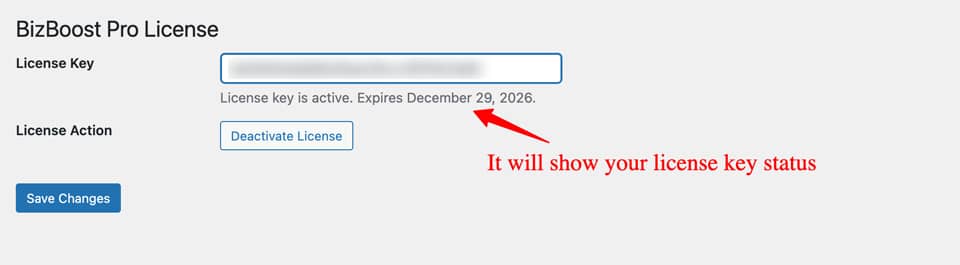
- First, log in to My Account page: Once you are on the My Account page, click on “View Licenses” and you will see the status of your license
- If your license key is expired then you need to click on “Renew license” and checkout. But if you want to renew it before it expires then you need to click on “Extend license” and then checkout.
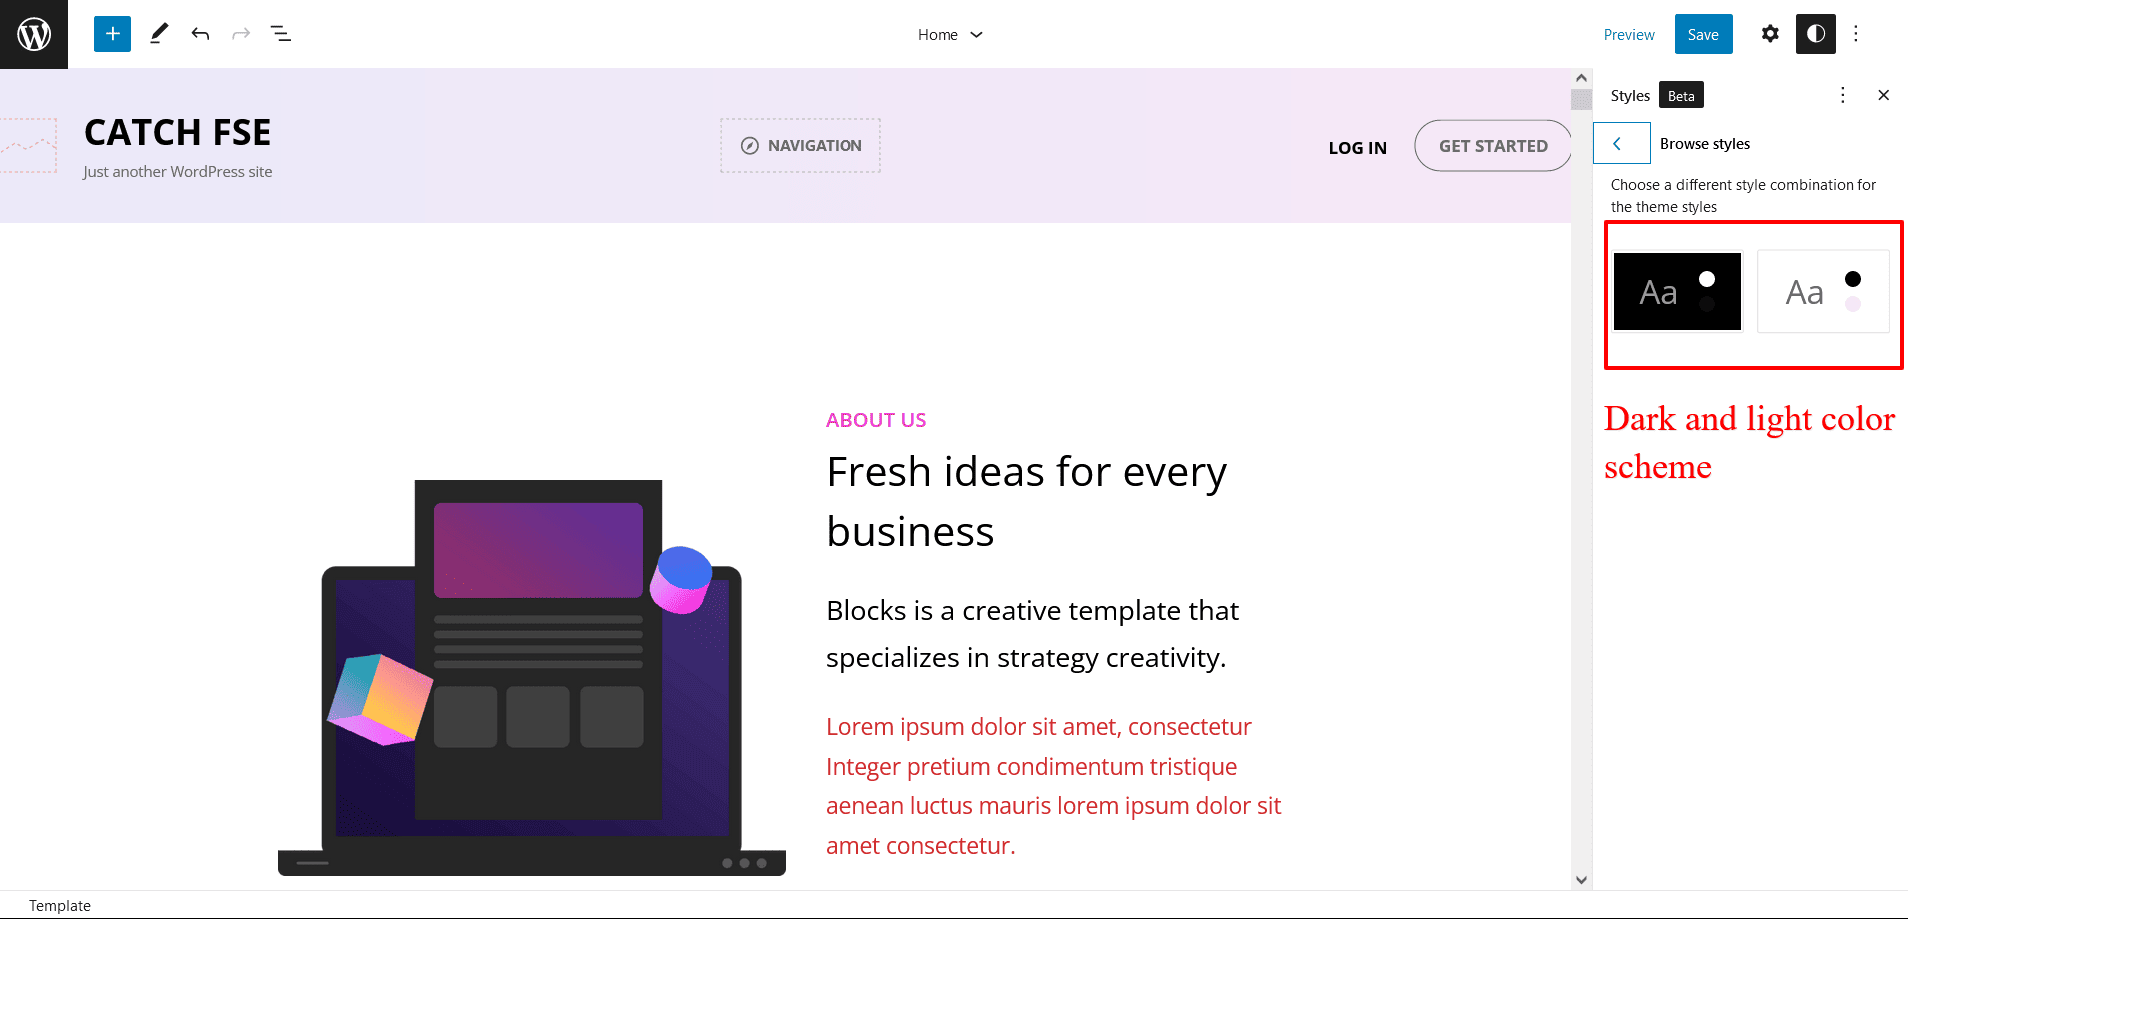
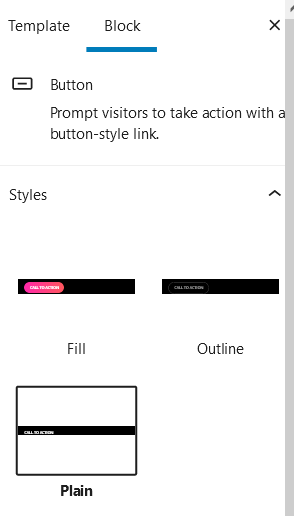
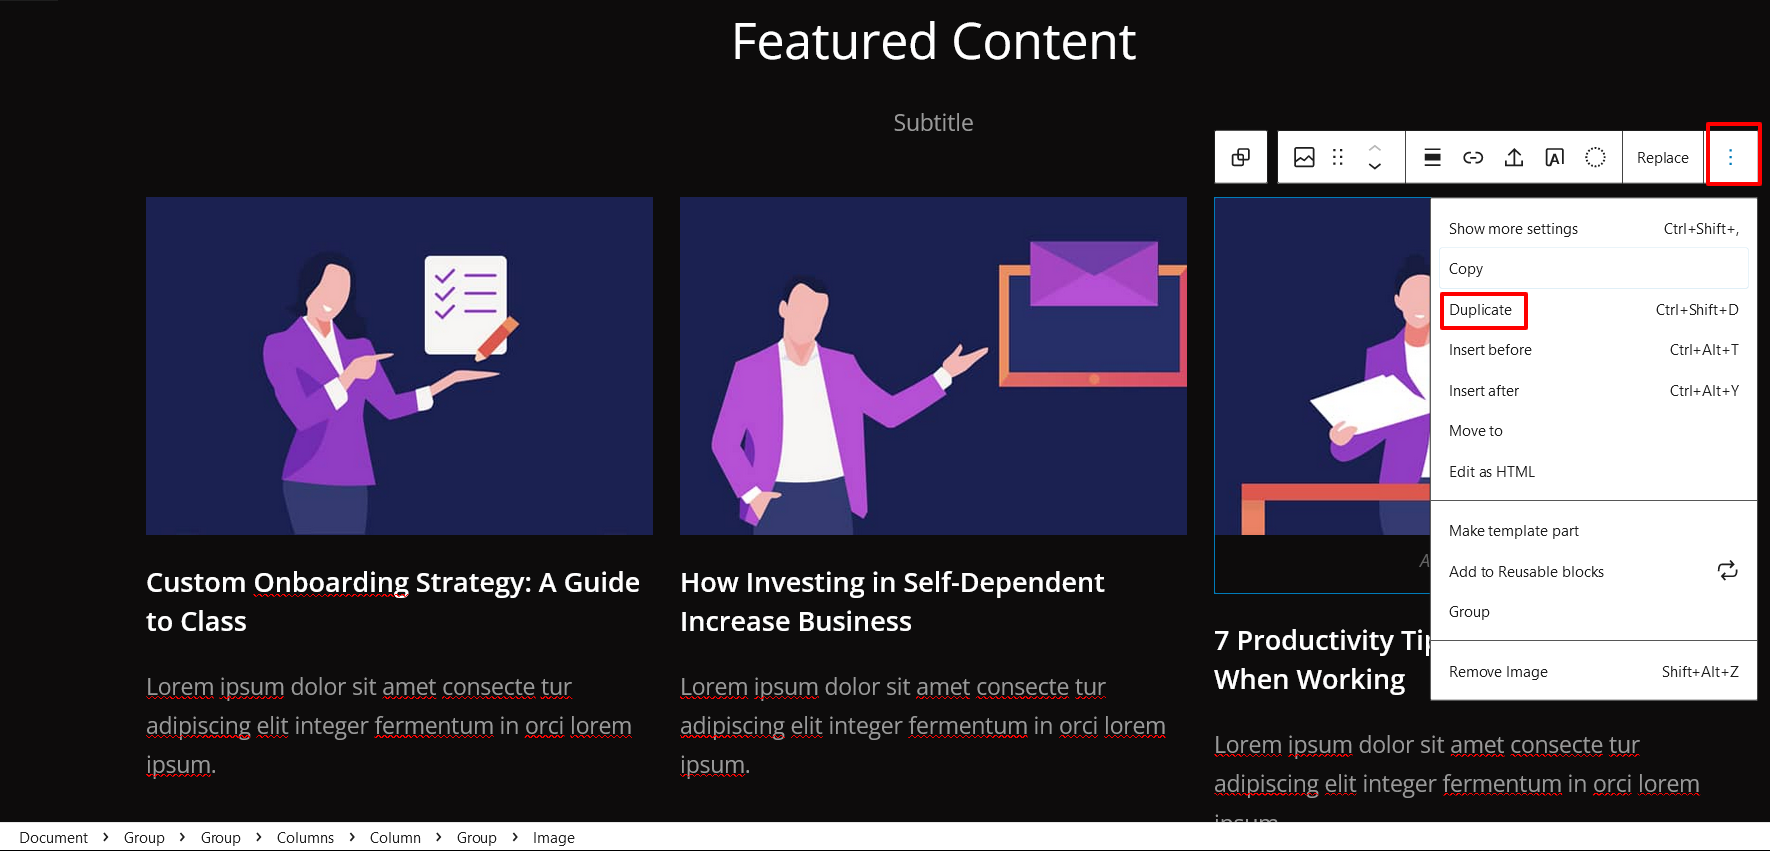
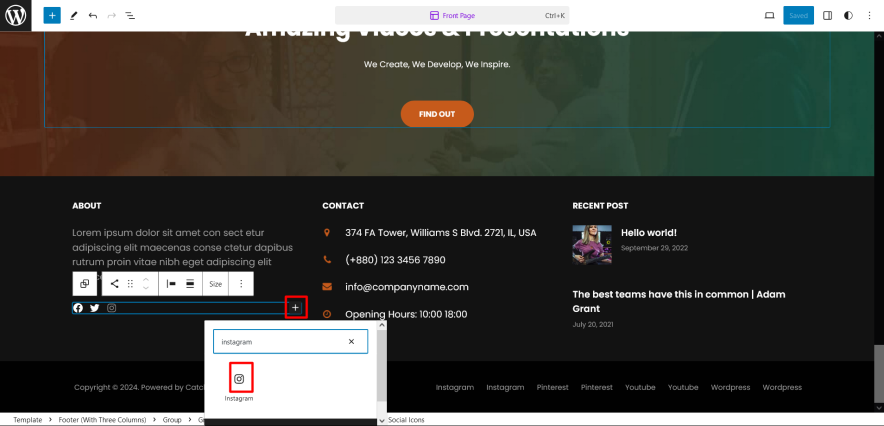
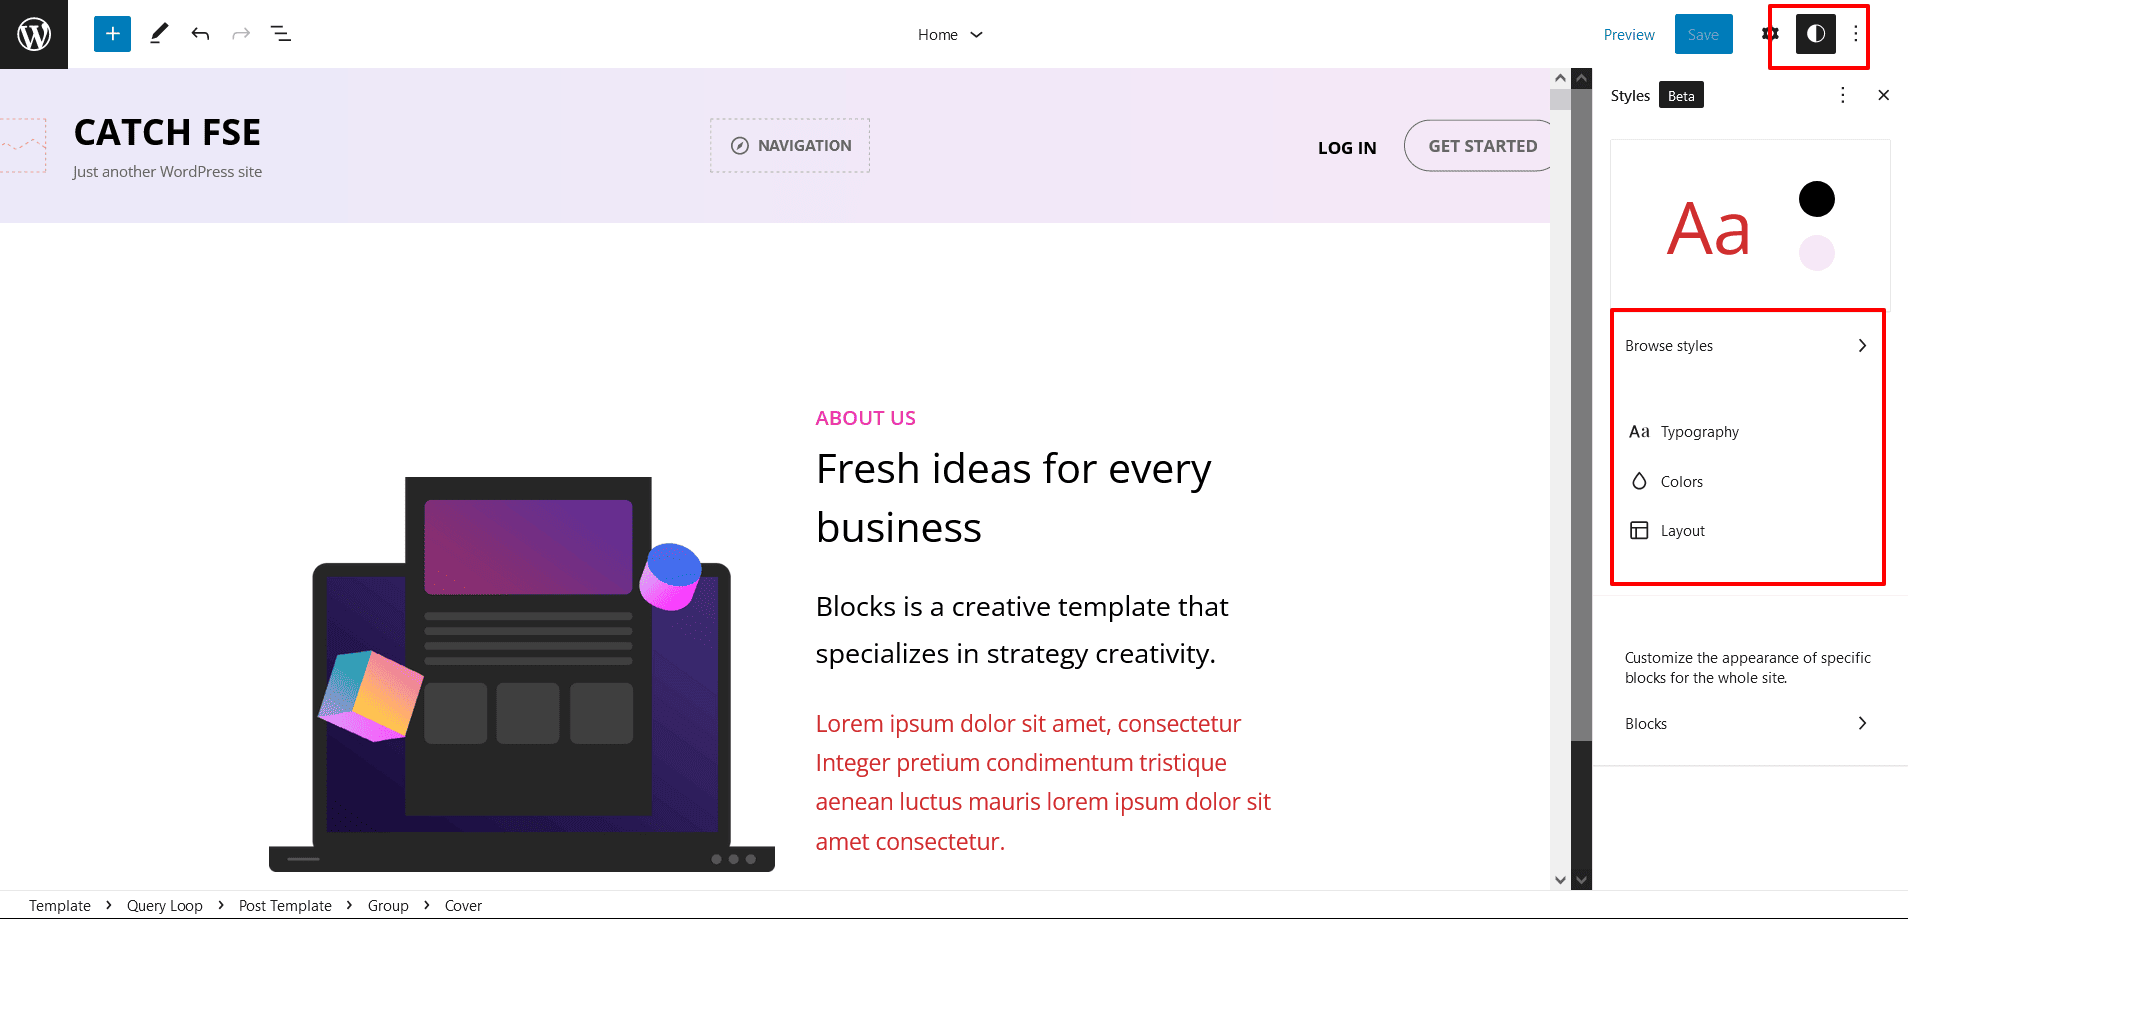 To change color scheme of whole theme choose Default (dark scheme) or Light